I’ve been taking my time to introduce Noah to the alphabet, and letting him dictate the pace, because I want him to enjoy the learning process. This means that even though I’ve already prepared all the materials for A to Z, we’ve only worked on erm, maybe five different letters.
I noticed that although he can identify and name most of the pictures for the letters he’s been playing with, he isn’t quite able to recognise the letters, especially the lowercase ones. I then quickly came up with a set of uppercase and lowercase letters, for him to do some matching with them. I used Times New Roman as the font, so that the uppercase ‘I’ and lowercase ‘l’ don’t look too similar, but I realised that the lowercase ‘a’ doesn’t look like the ones he’s used to seeing, and he’s been having difficulties with it. Please feel free to download my simple document, and modify it to suit your child’s needs.
Noah playing with the letters

If you’ve seen my previous post on learning the alphabet, you might have noticed that Noah is not using the felt board for this activity, and is using the 3M Post-it® Cut-to-Fit Display Board instead. Can I just say how much simpler it has made my life? All I have to do is to print out the materials I want to use with Noah, laminate them, and cut them out. Ta-dah! Instantly usable with the 3M Post-it® Display Board! I don’t have to cut out tiny strips of velcro, paste them onto my materials, or even make another felt board. Why didn’t I use the Display Board in the first place? Sigh. (If you haven’t made your felt board yet, DON’T. Just use the 3M Post-it® Cut-to-Fit Display Board instead. Really. It’s so much easier!)
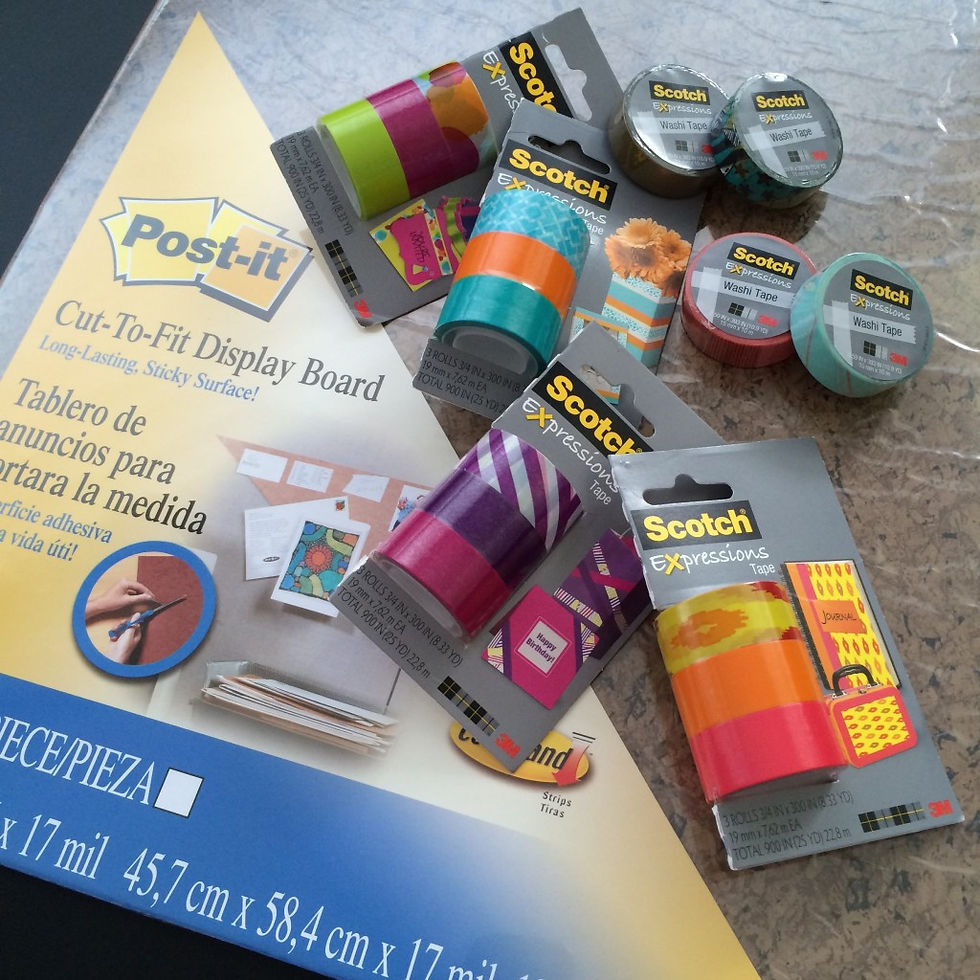
The 3M Post-it® Cut-to-Fit Display Board and some Scotch Expressions Tapes (I’ll share some fun craft projects that we’ve done with them soon!)

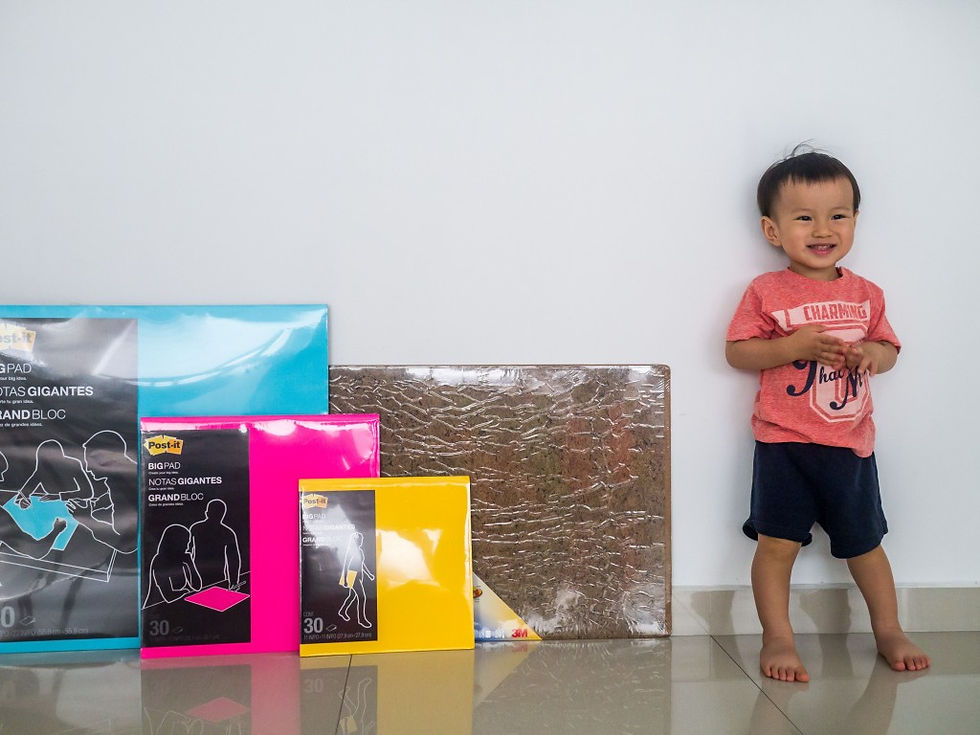
The 3M Post-it® Cut-to-Fit Display Board and three different Big Pads (More on those soon too!)

I cut the 3M Post-it® Cut-to-Fit Display Board into half, and pasted it on his wardrobe door, as it’s next to his desk. I unintentionally put it a little higher, but was too lazy to adjust it to his height, because I figured he will grow taller anyway. Heh. We’ve been using the board for about a week or two, and I’m so pleased that it still seems as sticky as before, even though Noah has been playing with it quite a bit. Luckily, I haven’t put the velcro on most of the materials for the alphabet, so we’ve been able to use them on this board. So much easier this way!
Noah has been having a lot of fun using the 3M Post-it® Cut-to-Fit Display Board, as he can put the laminated materials on any part of the board, and it’ll stick easily there. I love how easy it is to use, and I don’t have to help Noah to remove the materials, because he can do it on his own too. It helps with his fine motor skills as well, so that’s a huge bonus.
*The good folks at 3M kindly sent over the 3M Post-it® Cut-to-Fit Display Board, Big Pads, and Expressions Tapes, after I shared with them that I was trying to find a way to skip the whole felt-and-velcro step in my previous activity, and was also trying to help Noah develop his fine motor skills. Do keep a lookout for my posts on how we use the Big Pads and Expressions Tapes! All photos and opinions are my own.
*******
If you’ve enjoyed reading this post, do like my Facebook page to get updates. You can also follow me on Twitter (@GrowingwtheTans), Instagram (@GrowingwiththeTans), and Dayre (@GrowingwiththeTans), for short updates on what’s going on in our lives. Thank you! 🙂
Comments